
Hi Mudra fans I am back with a collection of Mudra using various goodies available in the Mudra store. I hope you enjoy my post and thanks so much for stopping by!
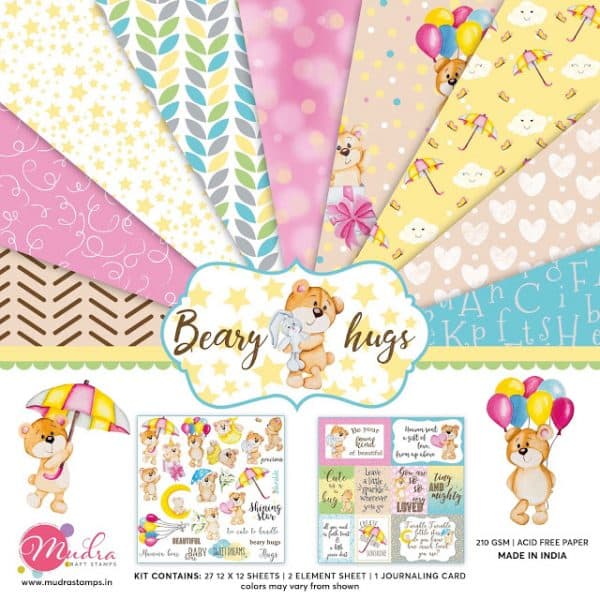
Explosion Box

- First cut your Beary Hugs patterned paper to 4x4 which will cover each of the panels on the explosion box. To create a nice offsetting look I used opposing colors from the paper collection. The pink outside with the fun bright yellow, with brown and teal.
What is nice about the paper is it has a nice thickness to it. I am a big fussy-cut person so it is important to me that paper can withstand being fussy cut and not wilt over. I added some gloss to my balloons to create a diecut sticker and glued it to the panel behind my centerpiece.
- To create the cake I simply cut 1" in strips glue the ends to form a circle and used a die to make the cake top. I then added a cluster of flowers for my cake topper.

- I wanted an illusion of my bear standing presenting the birthday cake so I fussy cut him form the sheet and glued it to the cake itself as if he was standing.
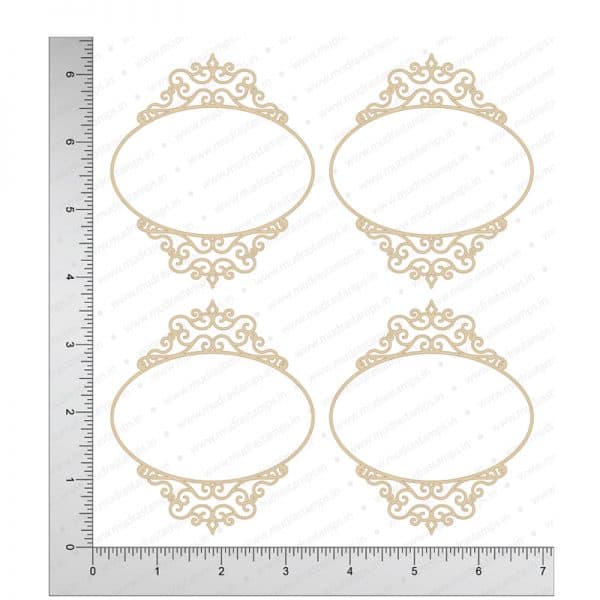
- For my box top I used the elegant frames chipzeb and fussy cut my bear from the sheet of patterned paper and added some flowers to finish it off.
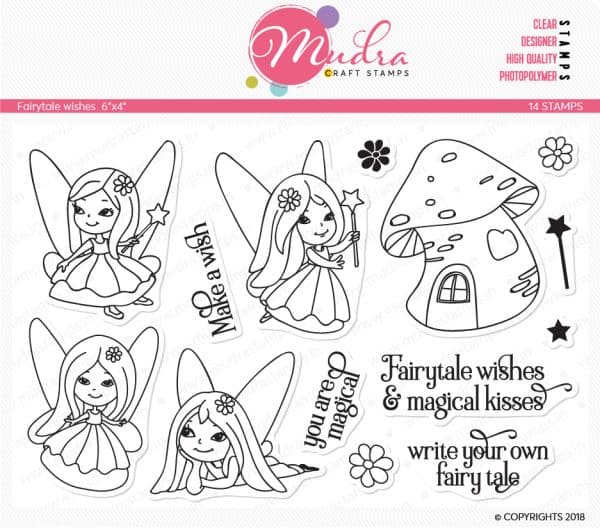
Distress Polygon Fairytale Wishes Card
Use your Mudra stencils to create your own fun background . I created this card using the Fairytale Wishes stamp set and added a chipzeb sentiment. To create:

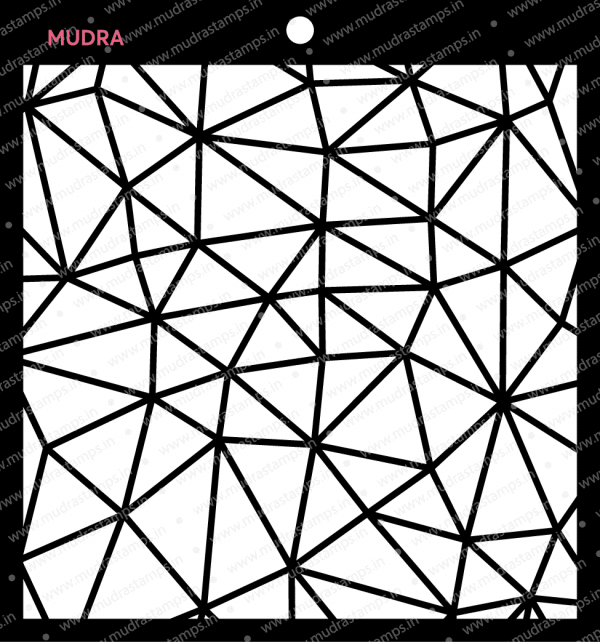
- First you need to take some watercolor paper and lay it down and put your polygon stencil over the top. It is best to apply some masking tape to the edges so the stencil stays in place and gives you a nice clean look. For my background I used Salty Ocean & Fossilized Amber oxide inks to color with.

- Once done adhere your background piece to matching cardstock which helps bring out the color and details of the stencil.
- For my fairy I stamped her on blending paper and colored her using copic markers with matching colors to blend with my stencil background. I wanted to add some glitter to her wings because you can't have a fairy without sparkly wings right?!!

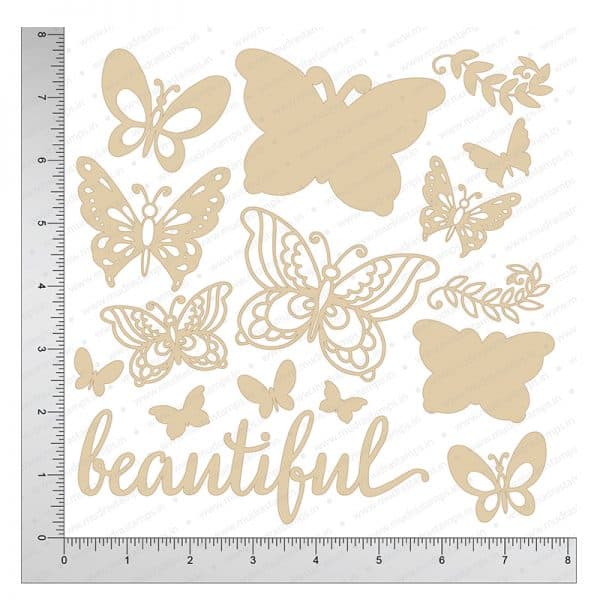
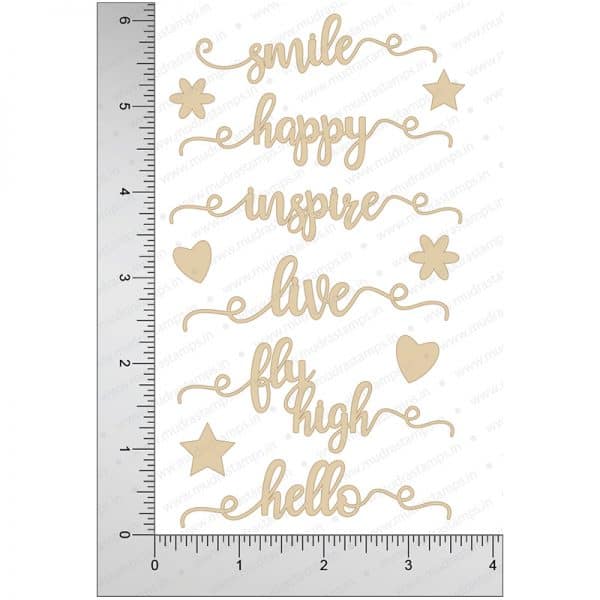
- For my sentiment I used "beautiful" sentiment from the Beautiful Butterflies Chipzeb set and sponged on coordinating ink to complete and finish the look.
Rangoli Chipzeb Card

I made a card using the butterfly chipzeb as my focal point. These piece are very sturdy almost like wood so you can add so many elements you can distress, emboss, ink and so much more and the piece will not change shape and the material allows inks to soak into. You may need to heat set a bit so it does not smear but the outcome is perfect.
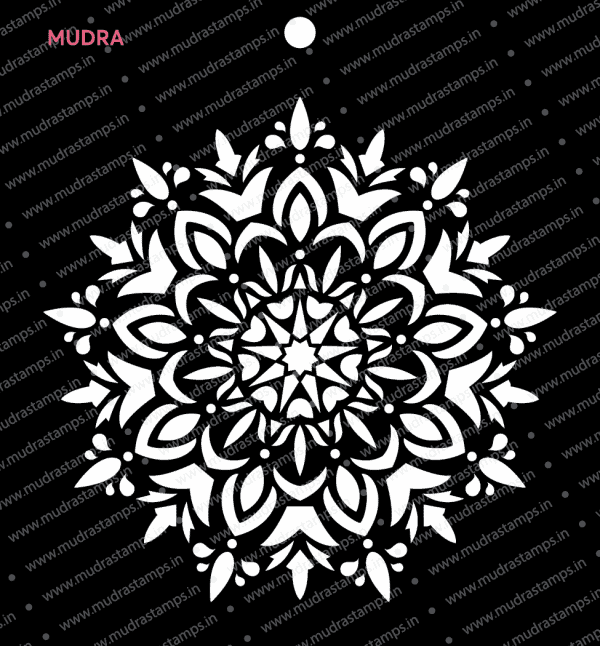
- Take your watercolor paper and the Rangoli stencil and apply masking tape to edges so the stencil does not move. Use your dauber to ink on your chosen colors.

- Adhere your Chipzeb Butterfly to the center and for the outline of my butterfly I applied some Delicata black shimmer ink and heat set it so it soaked into the wood piece which helps to prevent smearing. I really love how well the wood takes on color and holds it.

3. Stamp your Purely Sentiment Labelled sentiment and adhere it to you card front for a complete look. I used "Happy Birthday" which is perfect for the Mudra's birthday!
This is the completion of my project for this month... now on to the fun stuff:
Our March month challenge #19 is live, be sure to participate to be eligible to win some awesome goodies and become a potential guest DT for Mudra how exciting is that right?!! Details are featured below:

Crafters Corner, India
Art and Craft Store, Moira
The Craft Store, Srilanka
Papercurves, UAE
Scrapbook Boutique, Australia
beautiful projects :)
ReplyDeleteBeautiful
ReplyDeletethanks so much
Deletethanks!!
ReplyDelete